When the low‑disk warning pops up (and you just need it to stop)
It usually hits at the worst time: you’re saving a file, installing an app, or Windows wants to update, and the “Low disk space” warning starts nagging. Things slow down. Downloads fail. Even simple tasks feel risky because you don’t know what you can delete without breaking something.
The tempting move is to start nuking random folders, but that’s how people lose photos, delete game saves, or wipe out files an app still needs. The safer move is to figure out what’s actually growing, then let Windows clean up what it already considers safe.
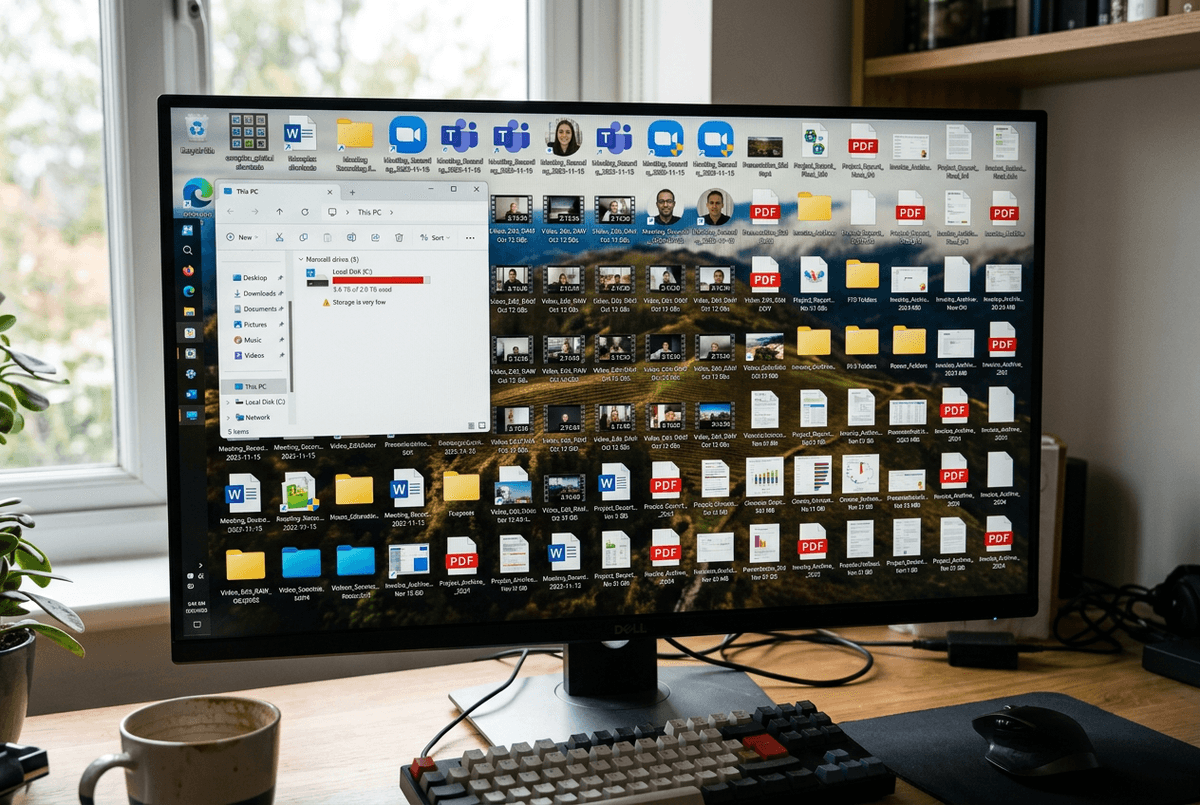
Start by spotting the biggest space hogs on C: using built-in tools—no extra apps, no guessing.
First, find what’s actually growing—without installing anything
Most of the time, the “mystery” is just one or two categories ballooning—Downloads, a sync folder, apps, or temporary files. You can see it in under a minute. Open Settings > System > Storage, then click Local Disk (C:). Windows will break your space into buckets like Apps, Temporary files, Desktop, Documents, and Other.
Click the biggest bucket first. If Apps is huge, you’re likely looking at games, creative tools, or old installers. If Temporary files is large, you may get quick wins. If Other dominates, it often means a few large folders Windows can’t label cleanly—common with virtual machines, developer tools, or messy app caches.
This view isn’t perfect, and it can miss hidden system stuff, but it tells you where to aim so you don’t delete blindly. Once you know the top culprit, you can use Windows’ safe cleanup options.
Way #1: Let Windows do the safe cleanup for you (Temporary files + Cleanup recommendations)
That “safe cleanup” is usually sitting right inside the biggest bucket you just clicked. In Settings > System > Storage, open Temporary files. Windows will list things like Recycle Bin, Temporary Internet Files, Delivery Optimization Files, and Thumbnails. Check the obvious junk, then hit Remove files. Be careful with Downloads here—Windows may offer to delete it, but it can include installers or documents you still need.
Then go back one screen and open Cleanup recommendations. This catches “low-risk” extras like leftover update files, large rarely used files, and apps you haven’t opened in a while. It’s worth scanning the list, but don’t treat it like a one-click fix—if you mark something you meant to keep, getting it back can be a pain.
If this barely moves the needle, the space isn’t in temporary files, and you’ll need to target the folders that keep refilling C:.
Why your Downloads and Desktop keep ‘mysteriously’ filling C:
That “refilling” feeling usually comes from two places you touch every day: Downloads and Desktop. Browsers default to saving on C:, many installers dump a second copy of the setup file there, and it’s easy to forget a few 2–10GB downloads once the app is installed. The Desktop is sneakier because people treat it like a parking spot for “I’ll sort this later,” and it often ends up holding videos, meeting recordings, and giant PDFs.
Windows also pushes you there. Lots of apps save exports to Downloads, and some “Save As” dialogs quietly start in Desktop, so you keep piling on without noticing. And if you use OneDrive, your Desktop and Documents may still live on C: even though they sync.
The catch: deleting from Desktop/Downloads is permanent if it skips the Recycle Bin, so you want to relocate these folders before you do a big purge.
Way #2: Move the clutter folders to a safer place (and keep them there)
When you go to clean Downloads or Desktop, you usually hit the same snag: you’re afraid you’ll delete the wrong thing, so you move a few files… and the folders fill right back up on C: a week later. A better fix is to move the whole “clutter” location so new stuff lands somewhere with more room—like D: if you have it, or an external SSD you keep plugged in.
In File Explorer, right-click Downloads (and then Desktop if needed) > Properties > Location > Move, pick a folder on the other drive, and confirm. Windows updates the path so apps keep saving there without you babysitting it. Don’t point Desktop to a USB drive you often unplug; the next reboot can turn into missing shortcuts and error messages.
Once they’re moved, you can sort the old pile with less stress—and the new pile stops landing on C:.
Way #3: Uninstall apps you don’t use—and clean up the leftovers the easy way
Once new downloads stop landing on C:, the next surprise is how much space “installed” stuff still takes—especially games, old trial software, and utilities you used once. Go to Settings > Apps > Installed apps, sort by Size, and start with the biggest thing you truly don’t need. Use Uninstall from here, not a random “uninstaller” you find online.
After the uninstall, check the app’s leftover folders in Documents and AppData (File Explorer address bar: type %appdata%, then go up one level to AppData and look in Local). Many apps leave caches and update files behind. If you’re unsure, delete only folders clearly named for the app you removed.
One limitation: some “big” apps store data inside your user folder, so the size list can look wrong—if uninstalling barely frees space, you’ll want to look at sync folders next.
If you use OneDrive, decide what should be ‘online‑only’ versus always on the PC
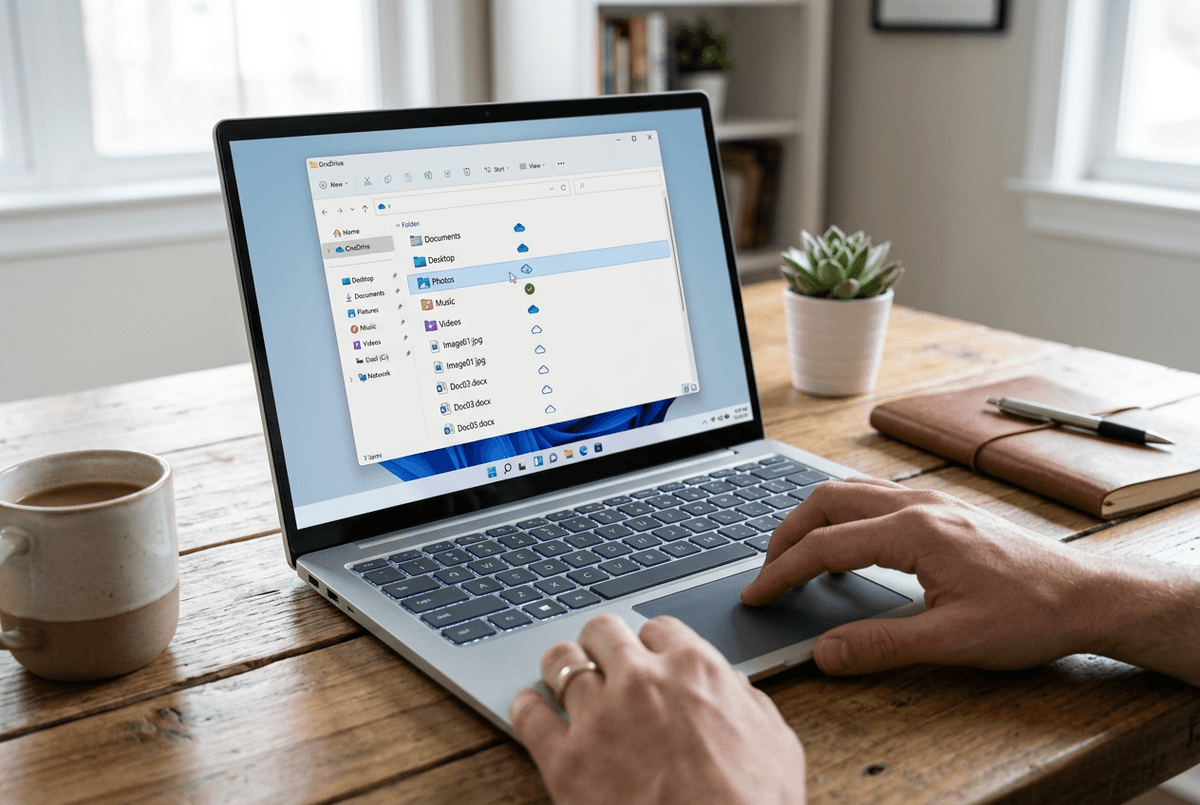
If uninstalling a few big apps barely frees space, OneDrive is often the quiet culprit: your files look like they live “in the cloud,” but many are still fully stored on C:. The fastest win is to make large, rarely opened folders online-only while keeping everyday work files available offline.
Open File Explorer > OneDrive. Right-click a bulky folder (photos, old projects, video exports) and choose Free up space. It stays visible, but Windows removes the local copy until you open it again. For folders you always need—school/work docs you edit on the go—right-click and choose Always keep on this device.
Two real-world snags: opening an online-only file needs internet, and large files can take a while to download when you’re in a hurry. Also, don’t flip everything to online-only if you travel or your Wi‑Fi is unreliable. A quick check in OneDrive’s Storage view helps you target the biggest folders first.
A small setup now so you don’t do this again next month
That “quiet culprit” problem is why a little automation helps more than one heroic cleanup. In Settings > System > Storage, turn on Storage Sense, then set it to run weekly and empty the Recycle Bin (and Downloads only if you’re disciplined about saving important files elsewhere). This keeps temp files and old update scraps from piling up between Windows updates.
Then make one rule you’ll actually follow: once a week, open Storage and click your biggest bucket. If it’s Downloads, sort by size and delete the installers you’ve already used. The annoying part: the first few weeks take longer because you’re catching up on months of buildup.