You want your old Windows exactly as-is—can you really just move the drive?
You build the new PC, look at your old SSD, and think: if I can just plug this in, I’m done. Sometimes you are. Windows 10/11 can often re-detect new hardware on first boot and keep your apps and settings intact, especially if you’re moving between fairly normal Intel/AMD desktops and the drive is already set up for UEFI.
The catch is that “just move the drive” is a dice roll with a few specific failure points: boot mode mismatch (UEFI vs Legacy), the motherboard picking the wrong boot entry, storage controller changes that trigger an INACCESSIBLE_BOOT_DEVICE crash, and Windows activation flipping to “not activated.” If you want minimal downtime, the right move is to decide up front whether you’re aiming for a straight boot, a repair boot, or a clean install with data carryover.
Is a straight plug-in-and-boot likely to work for you?
That “dice roll” gets a lot less random once you know what kind of hardware jump you’re making. If your old install is Windows 10/11, already boots in UEFI mode (GPT drive), and you’re moving from one typical desktop to another (Intel↔Intel, AMD↔AMD, or even Intel↔AMD), a straight plug-in-and-boot often works. Expect one ugly first boot while Windows swaps chipset, network, and graphics drivers.
The odds drop fast when the storage path changes. If the old PC used Intel RST/RAID or Optane and the new board is set to plain AHCI (or the other way around), Windows can blue-screen with INACCESSIBLE_BOOT_DEVICE before it has a chance to adjust. Same story if you’re moving an old Legacy/MBR install into a UEFI-only build, or you had BitLocker enabled and don’t have the recovery key handy—then “it boots” turns into “it boots to a lock screen you can’t unlock.”
So the quick test is simple: UEFI-to-UEFI and AHCI-to-AHCI is usually a green light; anything involving RAID/RST, Legacy boot, or BitLocker should push you into prep mode before you touch the case.
Before you touch hardware: backups, BitLocker, and the one credential you’ll wish you had

“Prep mode” usually looks like this: you’re ready to swap cables, then you remember the one thing that can turn a 30-minute move into an all-night lockout—encryption. Before you pull the drive, make a quick full-disk image (Macrium Reflect, Acronis, or Windows “Backup and Restore”) to an external drive, and also copy anything irreplaceable (Desktop, Documents, browser profiles, password vault export) in plain files.
Then check BitLocker on the old PC: open “Manage BitLocker” and see if the OS drive is encrypted. If it is, grab the recovery key now and store it somewhere you can reach without that PC (print, phone photo, or your Microsoft account’s key page). That key is the credential you’ll wish you had when the new motherboard triggers a recovery prompt.
You can “Suspend protection” for the move (fast, less safe) or fully decrypt (slow, safest). Once you have backups and the key, you can touch hardware.
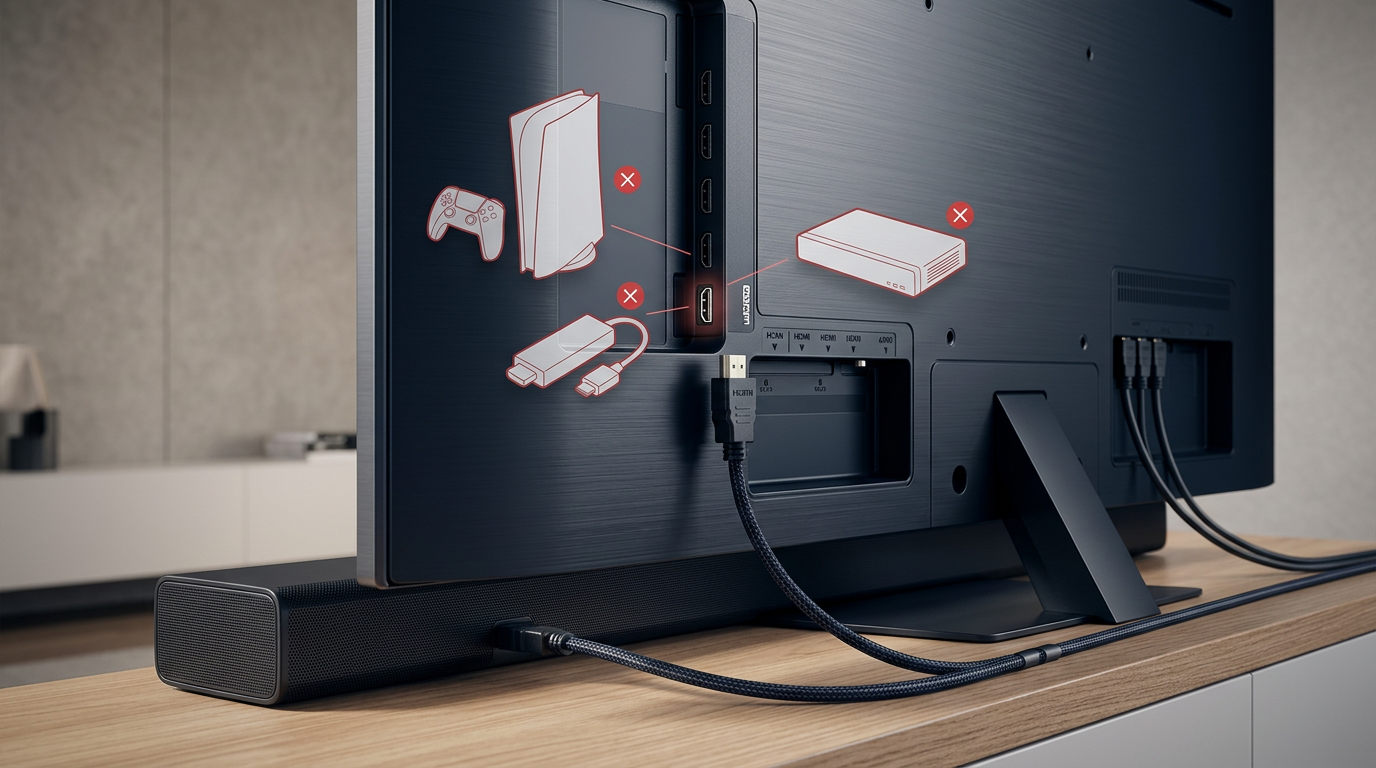
You’ve installed the old drive—now BIOS/UEFI is deciding your fate
Once the drive is physically in the new case, the first “problem” usually isn’t Windows at all—it’s the firmware picking what to boot. A common scene: you power on, see the motherboard logo, and it drops you into BIOS/UEFI setup or says “No boot device,” even though the SSD shows up in the storage list.
In UEFI builds, what you want to boot is the Windows Boot Manager entry tied to that drive, not just “Samsung 970” or “WD Blue.” Set it as the first boot option, then save and reboot. If your board is in Legacy/CSM mode but the drive is a GPT/UEFI install (or vice versa), it won’t find a valid loader—switch the boot mode to match the old install.
One practical friction: modern boards love “helpful” defaults like enabling Secure Boot, disabling CSM, or preferring the empty NVMe slot you plan to use later. If you can’t get to the Windows logo after fixing boot order and mode, you’re into repair-boot territory.
First boot: slow, weird, and full of drivers—what’s normal?
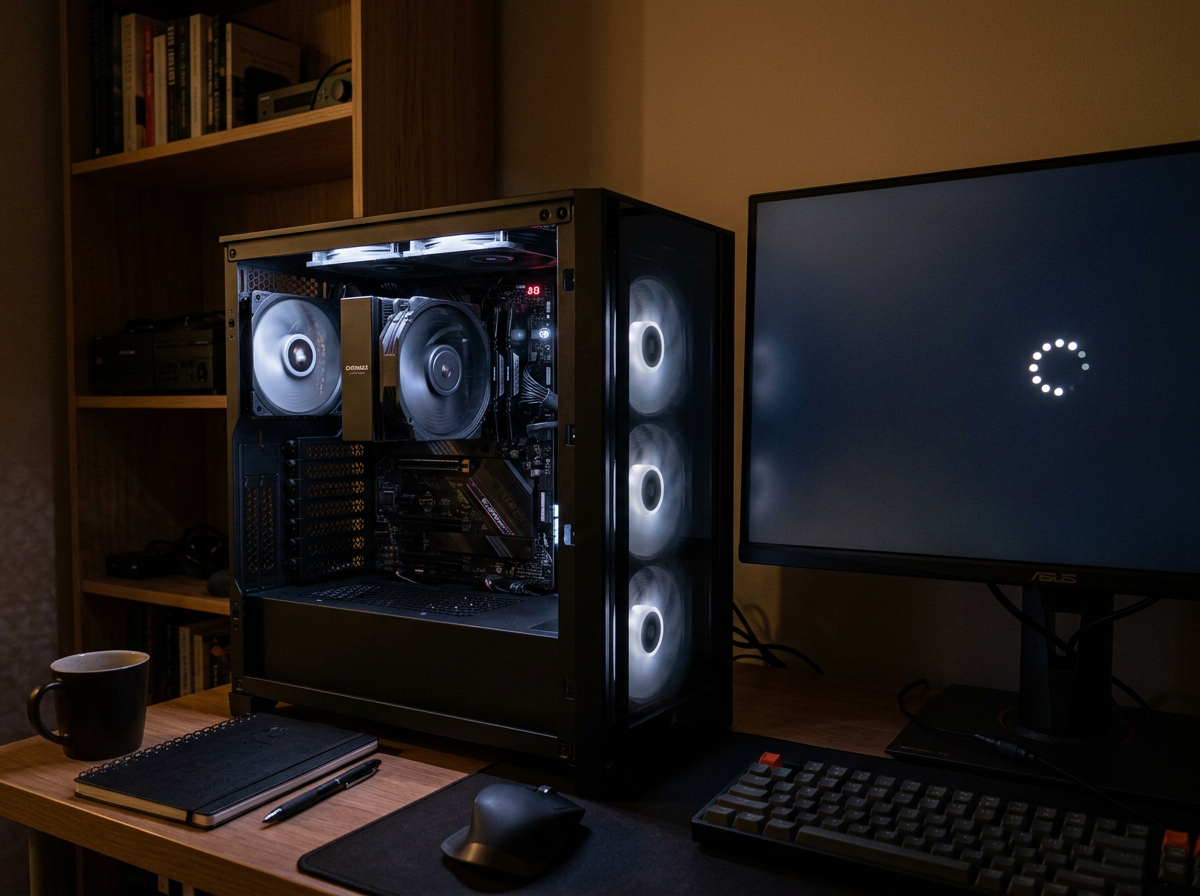
“Repair-boot territory” often still starts with a boot—just not a clean one. The first time Windows sees a new motherboard, it can sit on the spinning dots for a long time, reboot once, then come back with the wrong resolution, no Wi‑Fi, and fans ramping like you’re stress-testing. That’s usually Windows re-enumerating devices and swapping in basic drivers so it can keep going.
Give it time, but watch for patterns. If you reach the desktop and it’s slow, Device Manager will often show a pile of “Unknown device” entries until Windows Update finishes pulling chipset, network, and audio drivers. If you can’t get online, use another PC to grab the LAN/Wi‑Fi driver from the new motherboard’s support page and move it over on a USB stick.
The trade-off is stability versus speed: don’t start uninstalling “old” drivers yet. If you can log in, let it settle, then decide whether you’re done—or whether it’s booting but acting cursed.
If it won’t boot (or it boots but feels cursed): choose the fastest fix that fits
When it won’t boot, or it boots but crashes, hangs, or loses input devices, the fastest path is usually the least dramatic one: change one variable, retry, and only then escalate. If you hit INACCESSIBLE_BOOT_DEVICE, go straight back into UEFI and confirm the storage mode (AHCI vs RAID/RST) matches what the old install expected. Flip it, reboot, and don’t “optimize” anything else yet.
If you can’t reach the sign-in screen at all, boot from a Windows 10/11 installer USB and run Startup Repair. If that fails, try System Restore, or use Safe Mode to remove problem drivers (common culprits: old chipset tools, storage drivers, vendor “suite” apps). Each repair step can leave you with a booting system that’s stable but messy.
If it boots but feels cursed—random freezes, audio/network weirdness, sleep broken—an in-place repair install (keep apps and files) is often the time-saver over chasing drivers for hours. Once it runs clean for a day, then you can lock it in.
Once it’s running, lock it in: activation, driver cleanup, and “new PC” finishing steps
Once it runs clean for a day, treat it like a fresh build that happens to know your apps. Start with activation: go to Settings → System → Activation. If it says not activated, run the troubleshooter and, if you used a Microsoft account before, pick “I changed hardware on this device recently.” The friction: OEM licenses sometimes won’t transfer, so you may be buying a new key.
Then stabilize drivers. Install the motherboard chipset/LAN/Wi‑Fi packages from the board vendor, run Windows Update, and only then remove old vendor utilities you don’t need. In Device Manager, fix anything with a warning icon; leave working stuff alone. Finally, re-enable BitLocker (if you suspended it), set your default browser and power plan, and make a new full-disk image while it’s healthy.