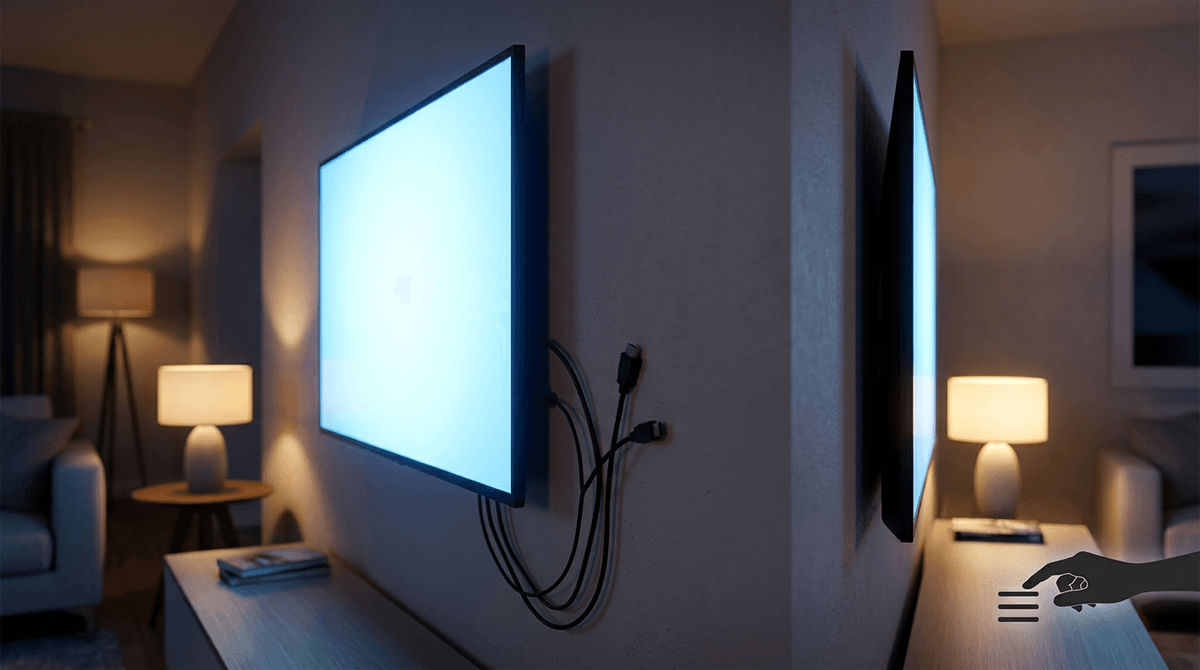
You upgraded the TV… but the picture still feels “off”
You unbox the new 4K/HDR TV, hook everything back up, and expect an instant “wow.” Instead, the picture looks a little flat, motion feels jittery in games, or the screen flashes black for a second and then recovers. Some nights it’s fine; the next day your console suddenly won’t offer 120Hz, or HDR won’t stay on.
That inconsistency pushes people toward the wrong targets—TV settings, app bugs, even a “bad” panel—because nothing is fully broken. But there’s one quiet holdover from the old setup that can cap everything without announcing itself: the HDMI cable you grabbed because it was already there.
When it’s not the TV: the symptoms that point to a cable bottleneck
That “already there” cable usually doesn’t fail like a dead battery. It fails like a weak connection: everything works until you ask for more bandwidth, then the system quietly backs off or glitches. You see it when your console stops offering 4K/120, or HDR keeps flipping off even though the TV and device both support it.
Watch for problems that come and go with small changes. If the screen blanks for a second when you launch a game, switch inputs, or enable VRR, that points to the link renegotiating. If you get random sparkles, brief flicker, or a sudden drop to a lower resolution after a few minutes, that’s another clue.
Audio can show it too. If ARC/eARC works one day and then you get silence, delayed audio, or a soundbar that won’t wake up, the cable can be the weak point. The frustrating thing: the more “premium” features you turn on, the more that old cable gets exposed.
The 3 terrible things your old HDMI cable is doing behind your back
That trade-off shows up in three sneaky ways, and none of them looks like a clean “cable failed” error. The first is silent downgrading. When the link can’t hold the data rate, your console or streamer often falls back to something easier—4K/60 instead of 4K/120, HDR off, VRR disabled, or color reduced—so the picture works, just not the way you bought the gear to use it.
The second is error correction doing damage control. HDMI can recover from some noise, but it has to spend time fixing mistakes. In real life that becomes sparkles, brief flicker, or a one-second black screen when a scene gets demanding or when you switch modes.
The third is physical wear that acts random. A bent plug, a loose fit, or a cable that’s been pinched behind a stand can turn “fine yesterday” into dropouts today, especially with eARC where audio and control signals also have to stay stable.
The good news: you don’t have to guess which one you’re dealing with to test it fast.
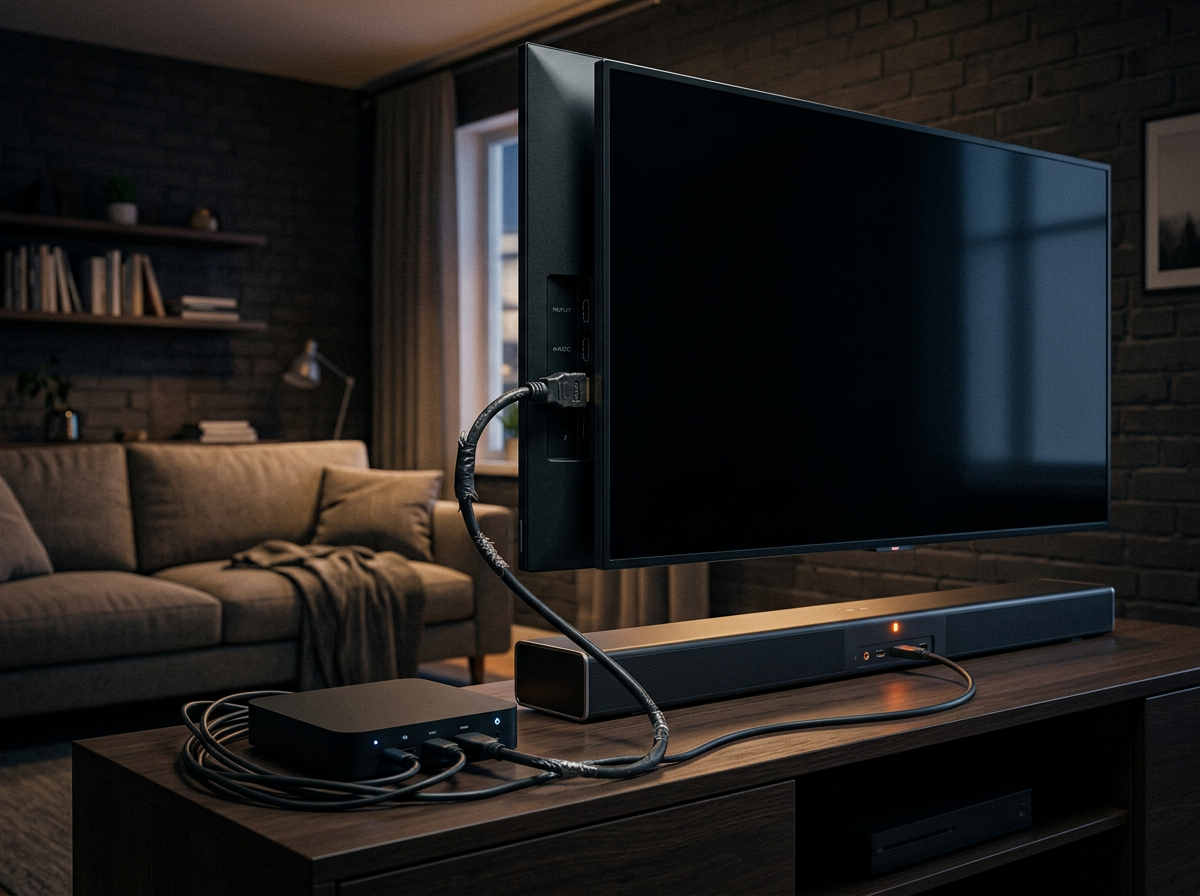
A 5-minute swap test that saves hours of troubleshooting
That fast test is a simple swap, done on purpose instead of mid-panic. Grab one known-good HDMI cable (borrow from another room if you have to) and use it only on the “problem” link: device to TV, or TV to soundbar/receiver for ARC/eARC. Don’t change any settings yet. Run the same thing that usually triggers the issue—launch the game that blanks the screen, toggle HDR/120Hz/VRR, or play the app that drops audio.
If the symptoms vanish with the swapped cable, stop chasing menus and firmware. You’ve found the bottleneck. If nothing changes, the cable probably isn’t the main problem and you can move on with confidence.
Two frictions to watch for: test one link at a time, and keep the cable run the same length and route. A “good” short cable on the floor can behave better than a long one snaked behind a cabinet.
What you actually need for your setup (and what you can ignore)
Once a swap makes the problem disappear, the next mistake is buying “the fanciest HDMI” instead of the right one for what you actually use. Most setups come down to three asks: basic 4K streaming, gaming at 4K/120 with VRR, or reliable ARC/eARC audio to a soundbar or receiver.
If you only stream movies and shows at 4K with HDR, a solid High Speed/“Premium High Speed” cable usually holds up fine at normal lengths. If you want 4K/120, VRR, or you keep seeing dropouts when switching modes, you want an Ultra High Speed (48Gbps) cable. That’s the simplest way to stop the “silent downgrade” behavior.
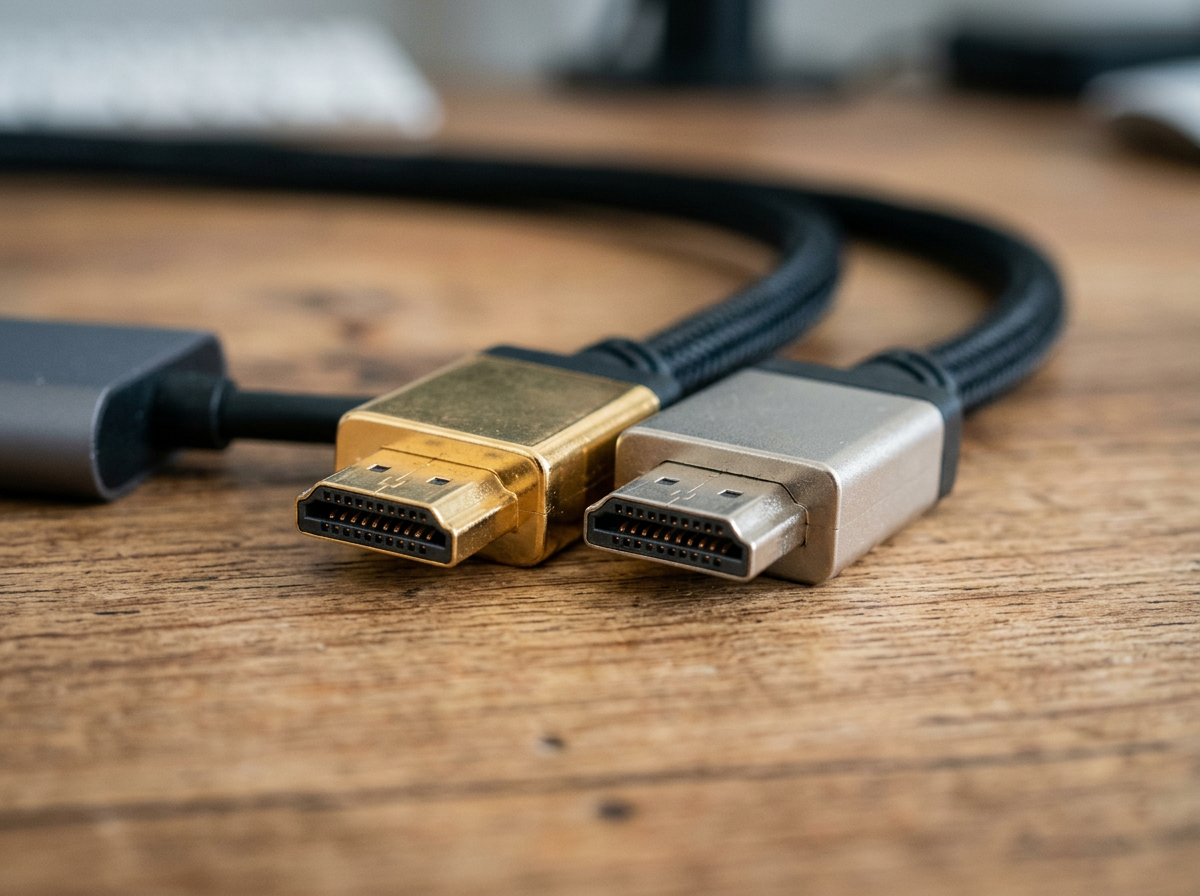
What you can ignore: “8K” on the box as a reason to overspend, gold-plated anything, and claims about “better color” from pricier copper. The real trade-off is length and routing. The longer the run or the tighter the bend behind the TV, the more you should prioritize a certified cable and a shorter path—then you can worry about labels.
Buying a replacement without getting scammed by labels, lengths, and hype
Those labels start to matter the moment you’re standing in a store aisle or staring at a dozen listings that all claim “8K/4K/120/VRR” in the same font size. The simplest filter is the certification, not the marketing. For 4K/120, VRR, or stubborn dropouts, look specifically for “Ultra High Speed” and the official certification label/QR. If a listing won’t show the packaging clearly or dodges the exact wording.
Length is where people get burned. A 3–6 ft cable that’s certified usually just works. At 10–15 ft, the same “48Gbps” claim can turn into black flashes or HDR refusing to stick, especially if the cable is bent hard behind a wall mount. Buy the shortest length that reaches comfortably, and avoid sharp turns at the TV port. If you truly need a long run across a room, that’s when you consider an active or optical HDMI cable—but only after you’ve confirmed the devices support it.
Ignore “gold plated,” “diamond,” and “gaming HDMI.” Pay for the right spec, the right length, and a return policy, then lock in the settings with a quick check.
Lock it in: quick setup checks so the new cable actually delivers HDR/120 and stable audio
That return policy matters because you want to confirm the cable is actually carrying the features you bought it for. After you plug it in, go straight to the device’s video output screen and verify the “max” options are available: 4K, HDR, and (if you use it) 120Hz/VRR. On many TVs you also have to enable the faster HDMI mode per port (often called “Enhanced,” “HDMI Deep Color,” or “4K/120”).
Then stress it for two minutes: launch the game or app that used to cause black flashes, and toggle HDR or 120Hz once. If you use a soundbar, confirm ARC/eARC is on, set audio to passthrough/bitstream, and power-cycle both devices once—CEC/ARC handshakes can be picky even with a good cable.